Trimming wheels

Wheel trim options
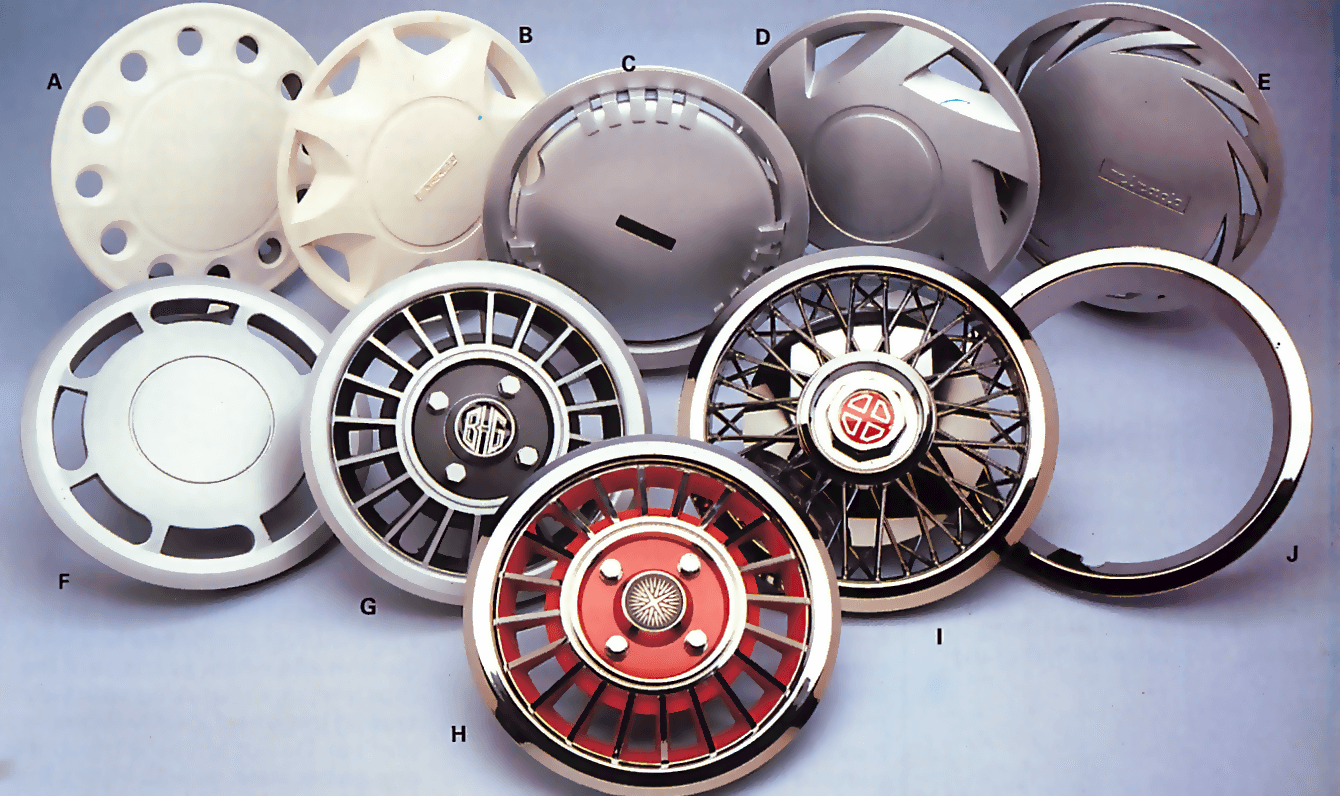
A vast range of wheel trim kits are available in different styles, sizes, colour and chrome finishes. Some are available ready to fit, others can be painted to match the colour of your car. Below is just a small selection of trims available. The Taurus (A), Libra (B), Tornado (C) and Hawk (D) are from the Autoplas range. The Mirado (E), Primo (F), B-G 100 (G), Flash Harry (H), Classic (I) and Trimrings (J) are from the Brown and Geeson range.

The original wheels fitted by your car manufacturer may be rather plain or they may have become scratched, rusty and dirty with age. But there are several things you can do to improve their appearance and the overall look of the car.

One way is to fit a set of after-market wheels, which are available in a wide variety of styles.

Fitting a complete set of new wheels can, however, be expensive. A cheaper and quicker way to give your wheels a new look is to fit a set of wheel trims.

Styles

Look in accessory shops or manufacturers' catalogues to see what is available and what would suit your car - you will find a vast range on the market, from quite basic sets in plain matt finishes to brightly coloured and chromed finishes. Some trims look like expensive alloy or wire spoked wheels.

Many of the trims are made from reinforced plastic which is both resilient and has some resistance to shattering and stone-chip damage. So, apart from enhancing the overall look of your car, the trims can also provide a degree of protection for the wheels.

Embellishers

Wheel embellishers are similar to the trim covers. These are designed to fit just around the rim of the wheel and are also available in chrome or matt finishes. These look most effective when they are fitted to wheels that have a small central wheel nut cover.

Fitting

The trims and embellishers simply clip into place on the wheel rim. Before fitting, however, it is worthwhile giving the wheels a quick coat of rust-retarding black paint, especially if they already look badly rusted. This not only hides the rust, it also ensures that the wheel won't show through the trim.
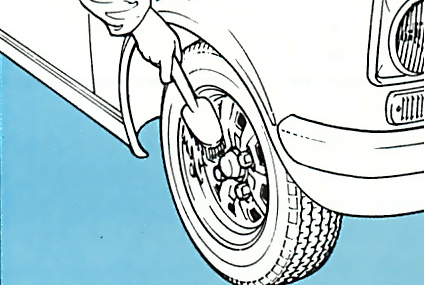
1. Clean the wheels
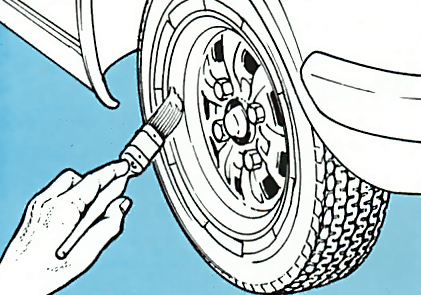
Before fitting the wheel trims, clean the wheel of all dirt and road grime with a stiff brush and a general degreasing agent. If the deposits are heavy, work the degreaser well in with the brush and allow time for it to take effect before rinsing thoroughly with water. Dry off the wheels with a rag.
2. Preparation
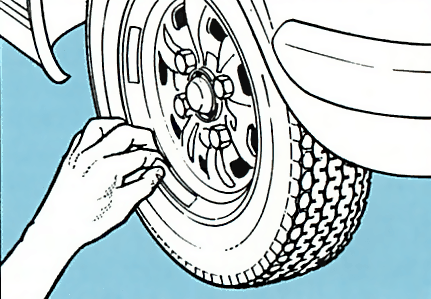
The effect of the wheel trims will be spoiled if you can see a scratched or rusty wheel through them. This is easily solved by giving the wheels a quick coat of paint. Make sure the wheel is absolutely dry, then apply masking tape to the tyre around the wheel rim.
3. Painting
You can use either a spray-on or brush-on paint for the wheels. Black paint will provide the best contrast for the trim. The wheel does not have to be removed from the car before painting. Apply the paint and allow it to dry thoroughly before fitting the trims.
4. Fitting
If the trim seems a bit loose when fitted try bending the securing clips out slightly. If this still doesn't improve the fit you can solve the problem by fitting ducting tape to the wheel rim. Offer up the trim to the wheel and mark the position of each securing clip. Apply the tape to the rim in each position.
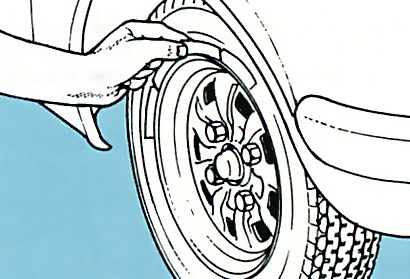
5. Fitting the wheel trims into position
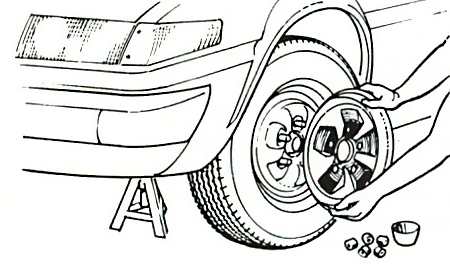
Offer the trim up to the wheel. Make sure the tyre valve cut-out, often formed in the trim moulding, is correctly positioned. Working around the circumference of the trim, knock it into position with your hand. Remember not to bend the trim too far or try to knock it on with a hammer leading to it shattering.
Some trims may fit under the wheel nuts.
Engine Block 18 minutes
Stop wasting time on YouTube and get serious!

The Ultimate Car Mechanics video course

Learn everything about modern cars from our new video series.

Learn more >
  • We build a Mazda MX5 Miata from scratch

    We start by tearing down and then rebuilding the whole car.

  • Every part explained

    There's ridiculous detail on every part. Clearly and easily explained.

  • All modeled in 3D

    We've created the most detailed 3D model ever produced so we can show you everything working.

Start watching

Super detailed explanations in the video course

15 hours of pro-quality, HD content with subtitles

icon-search