Overhauling a Bosch distributor

Inside a Bosch distributor
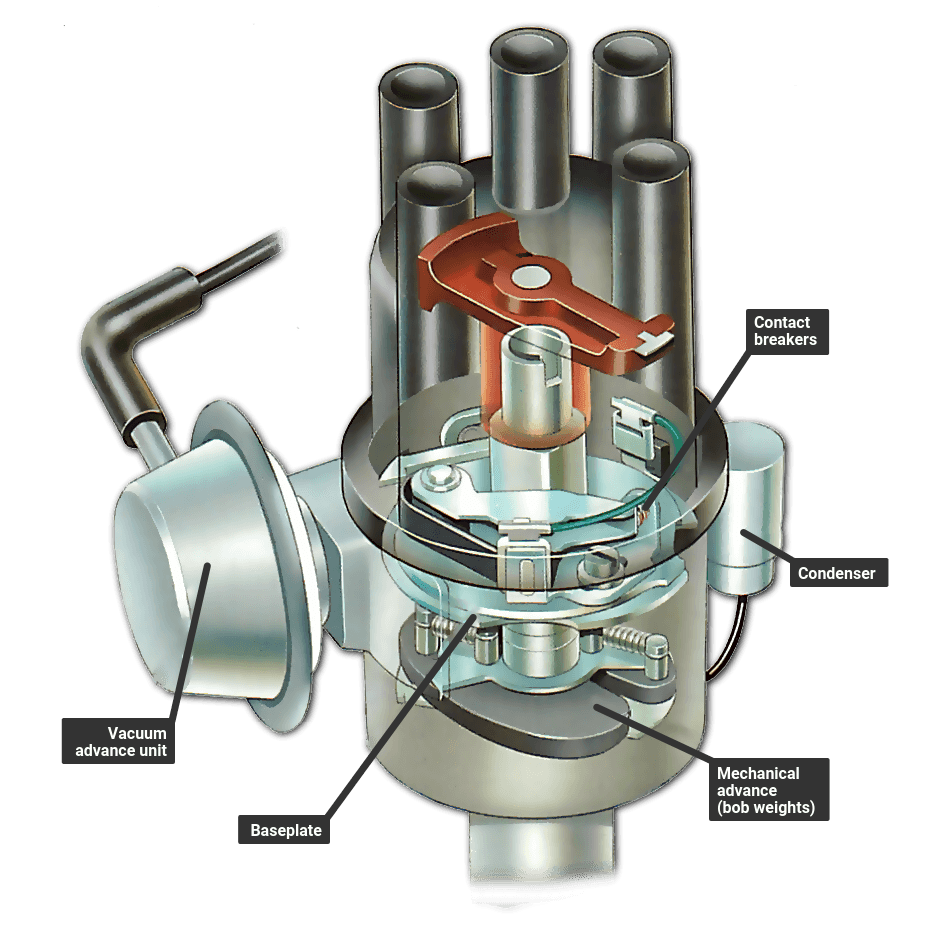
The Bosch distributor is fairly conventional inside, with the contact breaker assembly and mechanical advance mechanism all housed inside the distributor body. The unit differs from many other distributors in that the condenser is mounted on the outside of the unit. If your ignition system is fitted with a ballast resistor, this may also be mounted on the distributor next to the condenser.

Bosch distributors are found on many different cars and are generally very reliable. But after a high mileage you may find that the engine isn't running quite as it should. If the rest of the fuel and ignition system is well tuned but the car doesn't accelerate cleanly, the problem may lie in the distributor advance mechanism.

Checking and freeing the mechanism is the only work you can do on the Bosch distributor as spare parts are not available. If there is wear in the distributor shaft bearings , a new unit is the only solution.

The design is conventional with the contact breaker points mounted on a movable plate , which in turn sits on a fixed baseplate.

The vacuum advance unit is attached by screws to the side of the distributor and connects to a small post on the upper movable plate by a link rod and circlip.

Replacing parts

While it is possible to dismantle the Bosch unit for inspection, many parts, such as the mechanical advance weight mechanism (also called the bob weights) and the baseplates, cannot be bought as individual replacements.

To save buying a new or exchange unit, it is worth trying to get a second-hand one from a scrapyard and either using the parts you need from this or fitting the unit as a complete replacement.

You can, however, renew the points, condenser , drive gear and vacuum advance unit.

Preparation

You should first disconnect the battery by removing one of the leads to avoid any possibility of a short circuit . Then remove the distributor from the engine. Remove the points and condenser. Now you are ready to strip down the distributor.

Dismantling a Bosch distributor
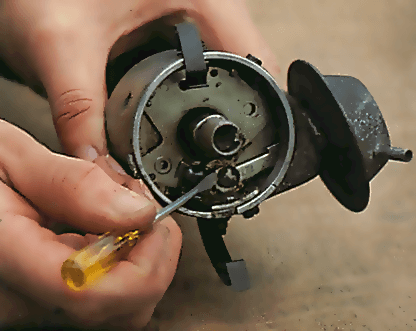
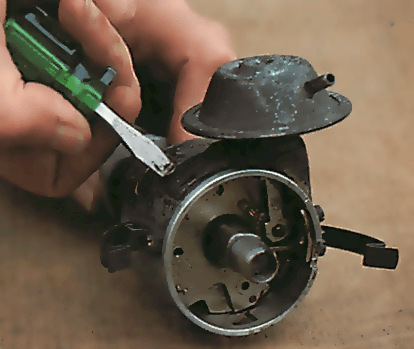
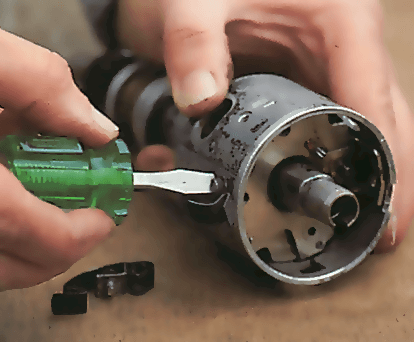
First remove the distributor cap, points and condenser. Then, using a small screwdriver, carefully prise off the small circlip holding the vacuum advance link arm to the peg on the upper baseplate. Take care not to lose it.
Undo the screws holding the vacuum advance unit to the distributor—there is one on each side of the advance unit.
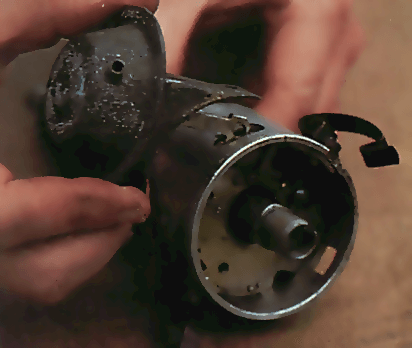
Pull the unit sideways out of the distributor, disengaging the link arm from the peg on the upper baseplate as you do so. Check that the vacuum advance unit works by attaching a short tube to the advance pipe stub. Suck on the tube —the link rod should move.
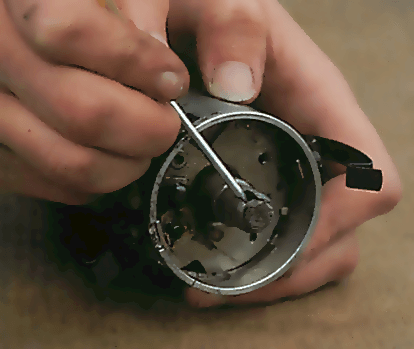
Look in the very top of the distributor shaft and prise out the small felt pad. This is used to retain a small amount of lubricating oil at the top of the shaft. Apply a few drops of oil to it before replacing.
The baseplate is held to the distributor by two screws which also hold the cap-securing clips in position. Release the two screws and lift out the cap clips. Note how the clips are assembled and keep them in a safe place.
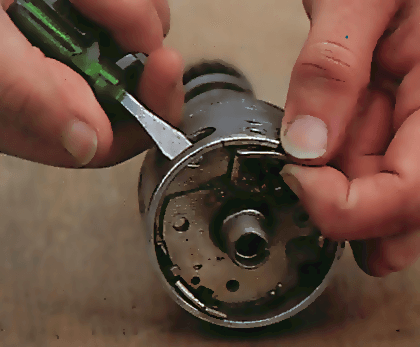
On some distributors the baseplate simply lifts out, but on others it is sealed in. If the plate is sealed you can gently lever it out with a screwdriver in the access hole, but take great care not to damage the plate or distributor body. Note which way round the plate fits.
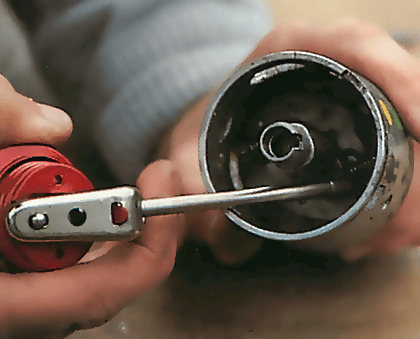
Inspect the mechanical advance mechanism. The weights should swing outwards easily with no stiffness. Apply a small amount of light machine oil to the advance weight pivot posts. If the weights are jammed, lubricate them and then work them with a screwdriver until free.
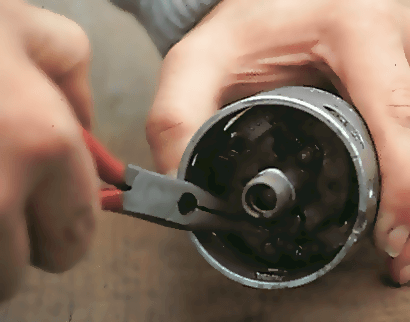
Check that the advance weight springs are in place on their mounting pins. If they have become disconnected you can ease them back on to the pins with a screwdriver or long-nosed pliers. If the springs are broken, new ones are not available.
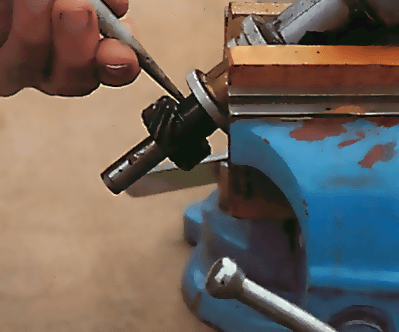
To remove the drive gear at the bottom end of the shaft, carefully knock out the securing roll pin from the shaft using a hammer and pin punch. Always replace the roll pin with a new one when refitting. Then put it all back together.
Engine Block 18 minutes
Stop wasting time on YouTube and get serious!

The Ultimate Car Mechanics video course

Learn everything about modern cars from our new video series.

Learn more >
  • We build a Mazda MX5 Miata from scratch

    We start by tearing down and then rebuilding the whole car.

  • Every part explained

    There's ridiculous detail on every part. Clearly and easily explained.

  • All modeled in 3D

    We've created the most detailed 3D model ever produced so we can show you everything working.

Start watching

Super detailed explanations in the video course

15 hours of pro-quality, HD content with subtitles

icon-search