Adjusting an emission-control carburettor
The Video Course teaches you everything about modern cars.
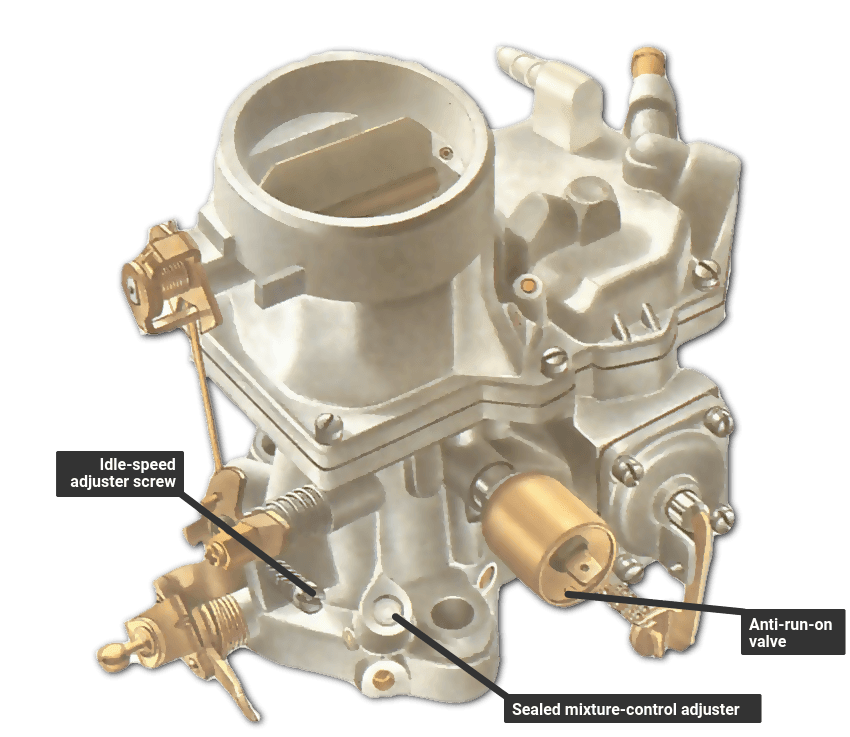
Anti-pollution laws in many countries now limit the volume of poisonous carbon monoxide gas (CO) which may be emitted from a car exhaust.
Later carburettors are designed to comply with these laws. Adjusting the mixture strength may increase the CO level. So the mixture control is now sealed to make it tamper-proof.
On some carburettors all you can adjust is the idle speed . On some you can alter the mixture very slightly by means of an extra air-volume regulating screw.
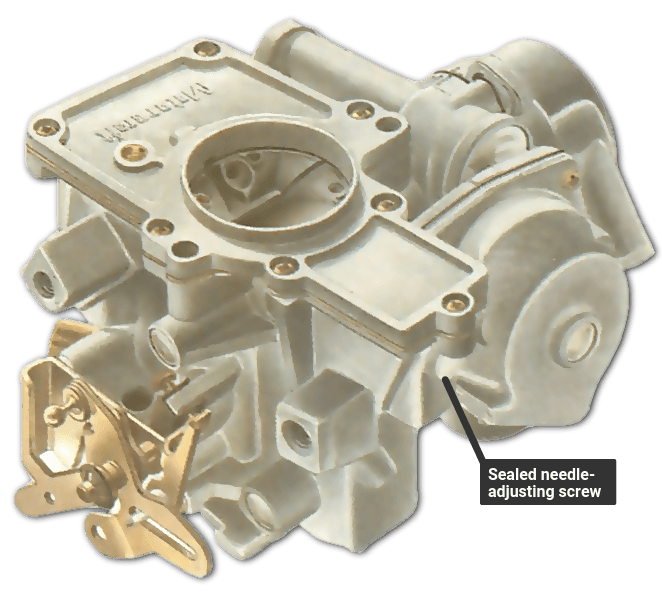
The seals are often easy to remove. You may find that somebody has done so, and upset the precise mixture balance made by the factory.
Many garages are not equipped to set a maladjusted carburettor right. You may have to buy a new one, although a specialist carburettor repair shop may be able to recondition it.
It is important to know what you can adjust and what you should not. Some early emission-control carburettors had no seals, and mistakes were easy to make.
You may have to put right someone else's error, at least well enough to get the car to a specialist garage, where the carburettor can be set precisely.
Before attempting any adjustment, eliminate all other possible causes of bad running.
Find the setting screws and make sure that you can turn them without removing the air cleaner (which would unbalance the mixture) and without burning yourself on a hot engine .
Bring the engine up to its normal running temperature. Then work quickly so that it does not get much hotter (which would also produce a false setting).
If the limited amount of adjustment possible does not make the engine run better, try cleaning the carburettor (See Removing a carburettor for cleaning ).
Adjusting Stromberg CDSE and CD2SE
Emission-control models are titled CDSE and CD2SE. Most of these allow no jet or needle adjustment. The idle-speed screw is adjustable; there is also a 'trimmer' screw for minor adjustments to fuel flow, which may have a locknut.
Even this screw should be adjusted only with gas analysing equipment at a garage. On a few CDSEs the needle height can be adjusted with a special tool in the same way as on a CD3 (See ).
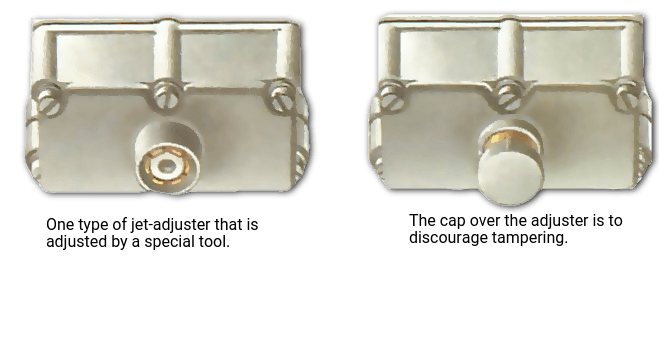
The jet-height adjustment may be made tamper-proof by replacing the adjusting screw with a bush, which needs a special tool to turn. The adjuster may also be covered by a steel cap. Adjustment is as for a normal Stromberg (See Adjusting a Stromberg carburettor ).

Adjusting an SU type HIF
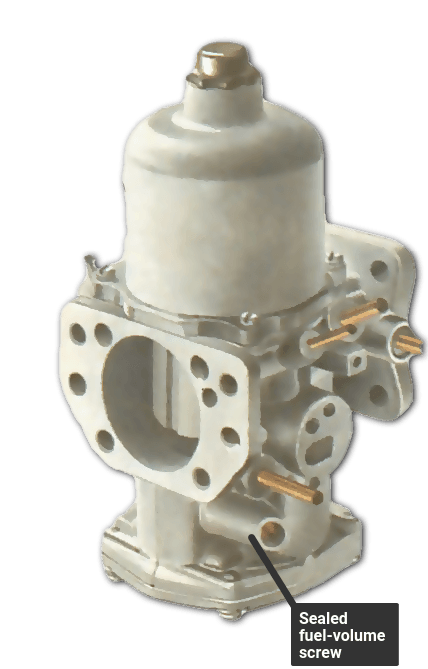
The earliest emission-control types of SU carburettors were 'sealed' by no more than a dab of paint on the threads of the adjusting screws.
On later types, plastic shrouds were fitted around the idling-speed and jet adjusters. These shrouds pull off easily, but cannot be put back.
The HIF model (which differs from other SU models by having a float chamber under the carburettor body, not beside it) has a screw in the side of the body to adjust the jet height.
This screw is hidden under an aluminium plug which can be removed with a thin screwdriver.
The screw turns in, clockwise , to enrich the mixture, and out to weaken the mixture.
There may also be an aluminium plug over the idle-speed screw rather than a plastic shroud. (For normal SU adjustment, see Adjusting an SU carburettor .)
Adjusting a fixed-jet

The simplest type of seal used is a cap over the volume screw, often easy to remove. The screw, once uncovered, adjusts as normal (See Adjusting a fixed-jet carburettor ). Sometimes a special screw head, requiring a matching tool, is used.
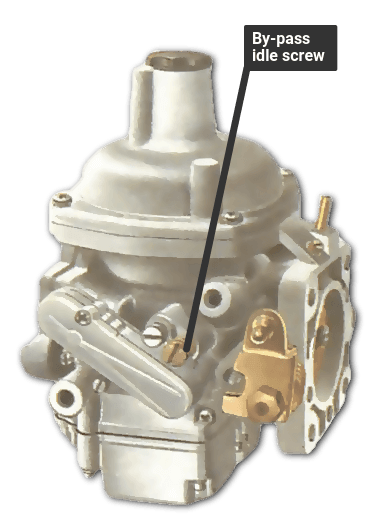
The system in widest use is to seal both the volume screw and the throttle-stop screw which controls the idling speed. However, there is an extra screw which alters idling speed by regulating air flow.
This 'by-pass idle-speed' screw is the only one which should be adjusted, and is usually the only screw which can be reached without removing a seal.
If not, it is normally larger than the fuel-volume screw and mounted higher up, either protruding or in a recess.
The Ultimate Car Mechanics video course
Learn everything about modern cars from our new video series.
Learn more >-
We build a Mazda MX5 Miata from scratch
We start by tearing down and then rebuilding the whole car.
-
Every part explained
There's ridiculous detail on every part. Clearly and easily explained.
-
All modeled in 3D
We've created the most detailed 3D model ever produced so we can show you everything working.


