Tuning the engine with a colortune plug
The Video Course teaches you everything about modern cars.
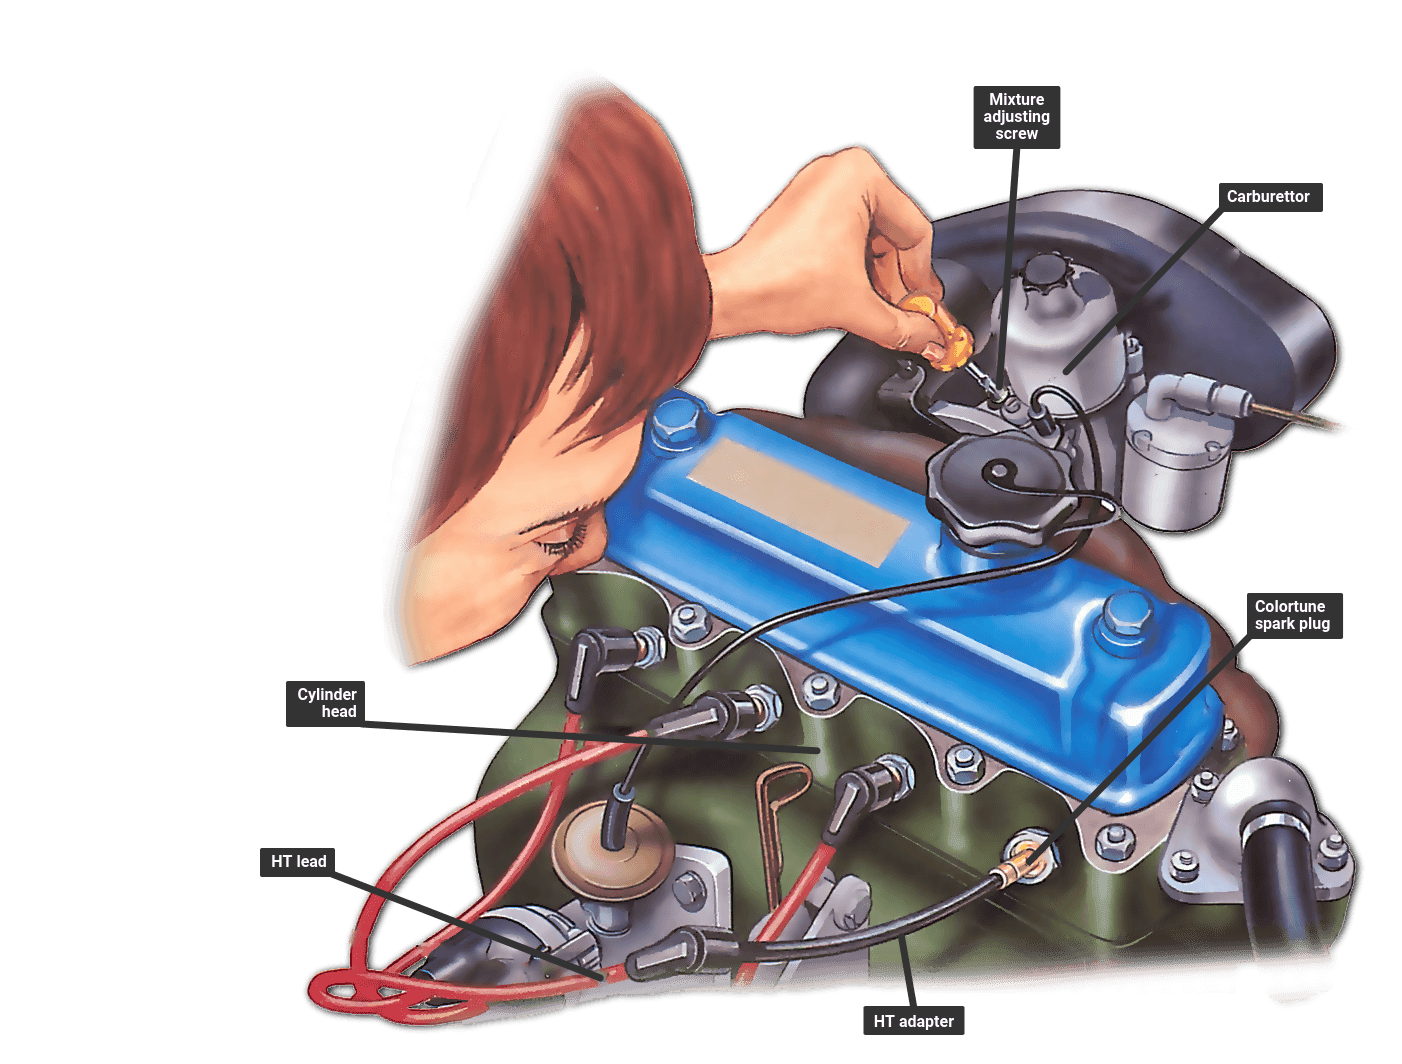
Although some experienced mechanics can tune a car's carburettor fairly well by ear, to do the job really accurately you need the help of special equipment.
While most garages use an exhaust emission meter (also called a CO meter), a cheap alternative is to buy a special see-through spark plug such as the Gunson Colortune plug.
Colour changes
The Colortune works on the principle that the colour of the flame produced by the fuel /air mixture igniting in the cylinders varies with the richness of the mixture.
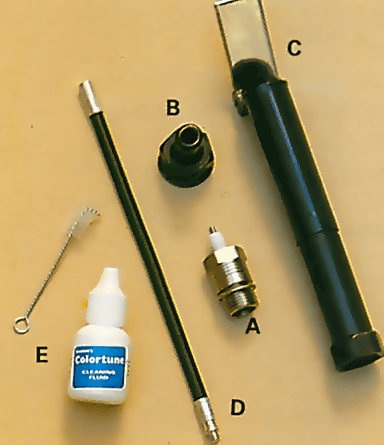
The special spark plug is screwed into the spark plug hole in place of a normal plug. With the engine running, you can then view what's going on in the combustion chamber .
If the fuel/air mixture is a deep blue colour, then the mixture is correct. An orange flame means that the mixture is too rich, while a pale blue or white flame indicates a very weak fuel/air mixture.
On cars with a single carburettor (or one twin-choke carburettor) you need one plug, but if your car has twin carburettors you need two plugs - one for each carb. Also note that the Colortune is made to fit cars with a 14mm spark plug. For those cars using a different size plug, you need a special adapter.
To do a really thorough job, it's a good idea to fit the Colortune plug to each cylinder in turn. You can then see whether a particular cylinder is giving problems.
Fitting the plug
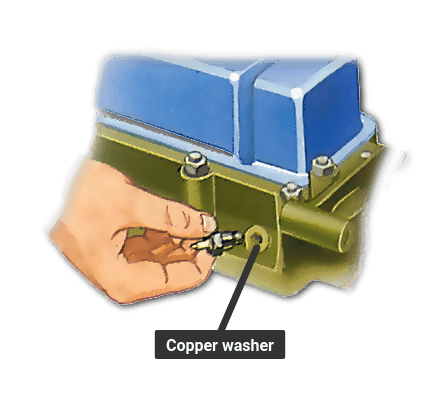
Run the engine until it is warmed up, then switch off. Remove the spark plug from the engine (any one will do) and screw the Colortune plug into the spark plug hole. Make sure the copper seal ing washer is in place or the plug won't seal properly. Then fit the spanner adapter collar over the plug and tighten up the plug as you would for an ordinary spark plug. But don't tighten it up more than 1/46 of a turn or you will damage the washer.
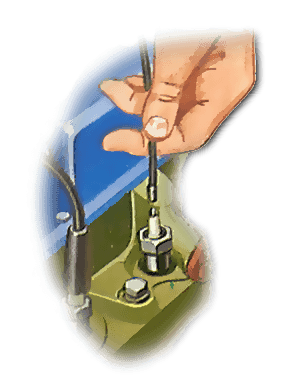
If your engine needs an adapter piece, screw it into the spark plug hole first, then screw the Colortune plug into that.
If the spark plug hole is awkwardly placed, or you are tuning in bright sunlight, it may be difficult to see the window in the plug. A special tube with an angled mirror is supplied in the kit to make viewing easier. Fit the lower half of the tube, then attach the HT lead adapter to the threaded stub in the centre of the Colortune plug.
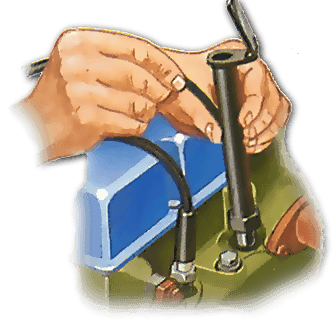
Now fit the top half of the tube with the mirror on it so that the HT adapter slips through the slot in the side. Push The end of the adapter into the vacant HT lead - make sure it is firmly clipped into the end of the lead.
Tune the engine

Restart the engine and let it idle. Now check the viewing window to compare the colour inside the chamber with that shown in the illustration below. If the colour is not a deep blue, carefully adjust the carburettor mixture screw one way or the other until the colour is the correct shade.
If you are tuning twin carburettors, adjust the mixture screw on each carb so that the colour is the same through each plug.
The Ultimate Car Mechanics video course
Learn everything about modern cars from our new video series.
Learn more >-
We build a Mazda MX5 Miata from scratch
We start by tearing down and then rebuilding the whole car.
-
Every part explained
There's ridiculous detail on every part. Clearly and easily explained.
-
All modeled in 3D
We've created the most detailed 3D model ever produced so we can show you everything working.


