Draining and refilling a fully sealed cooling system
The Video Course teaches you everything about modern cars.
In a fully sealed cooling system , the cap on top of the radiator is not usually opened for topping up the system.
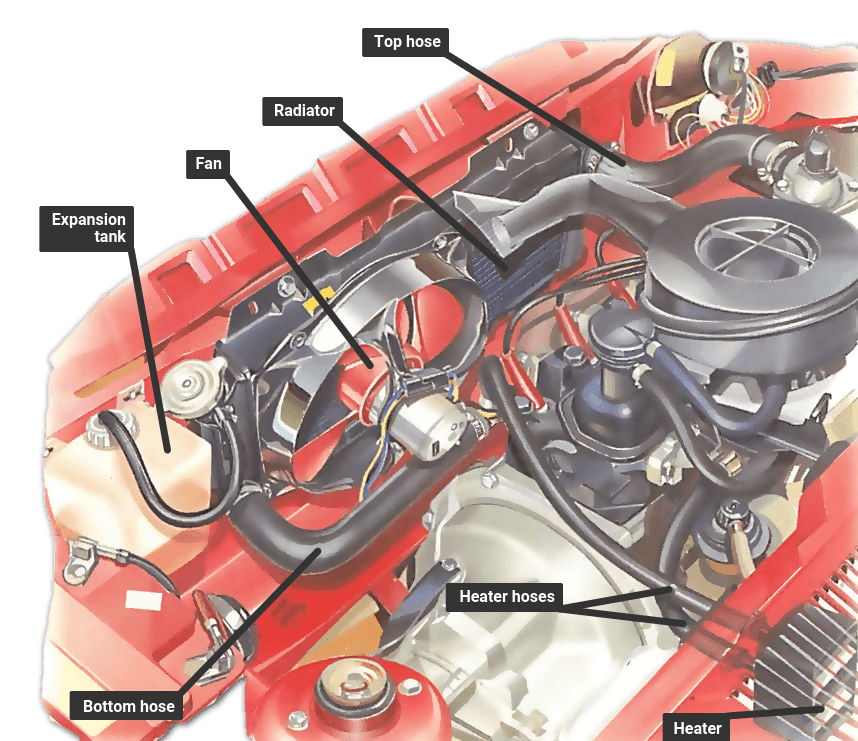
Instead, a pressure cap is fitted to the system, and a tube leads from the top of the radiator to a glass, plastic or metal tank or container.
Coolant which has expanded as the system warms up passes down the tube into this tank, and is drawn back into the radiator when it has cooled.
The system is supposed to be maintenance-free, and is drained only when a hose or the coolant is due for replacement.
When draining and refilling the system, if the coolant is to be reused, place clean containers beneath the drain points.
Note that the coolant is poisonous. Do not use containers which will be used in or near the kitchen. If you do not want to use the coolant again, do not pour it down a drain — ask your local council how to dispose of it.
If you intend to reuse the coolant, have a little extra to hand for replacement, as a little spillage is inevitable.
Most manufacturers recommend a 60 to 40 per cent water and antifreeze mixture. Some specify a 50-50 mix.
Use antifreeze made to BS (British Standard) 3152, or as specified by the car manufacturer. The standard number, if it applies, is printed on the container.
Checking and maintaining the system
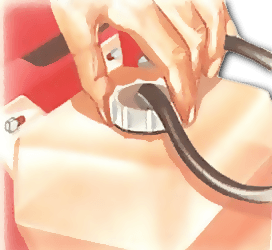
A glass or plastic expansion tank allows you to check the level at a glance. Make sure it is topped up with antifreeze mixture to its maximum level mark.
Check the rim and seal on the pressure cap for dirt and deterioration every time that you open it.
If the cap has a pressure release valve , never get it wet; replace it if it does become wet or dirty.
Examine the condition of the hoses where they are held by clamps or hose clips.
Reinforce them with fabric-based tape under the clamps or clips if they are wearing - or, better still, replace them.
Check all the clips for tightness, but do not overtighten them and so distort the hose.
Tighten all the hose clips and close all the bleed screws. With the engine running and hot, keep topping up the radiator as the air bubbles are dispersed.
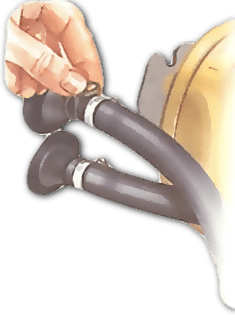
Trapped air tends to collect at the highest point of the system. Where there are no bleed valves, slacken the return hose of the heater unit - the bottom hose - and allow the air to escape. As soon as there is a steady stream of bubble-free coolant, tighten the hose.
Antifreeze, or a combination of water and antifreeze, will stain and discolour paintwork if allowed to dry on it. Use plastic sheeting or absorbent rags to protect wings and other exposed parts of the paintwork. If coolant is spilled onto paintwork, rise it off immediately with clean water.
Draining and refilling coolant
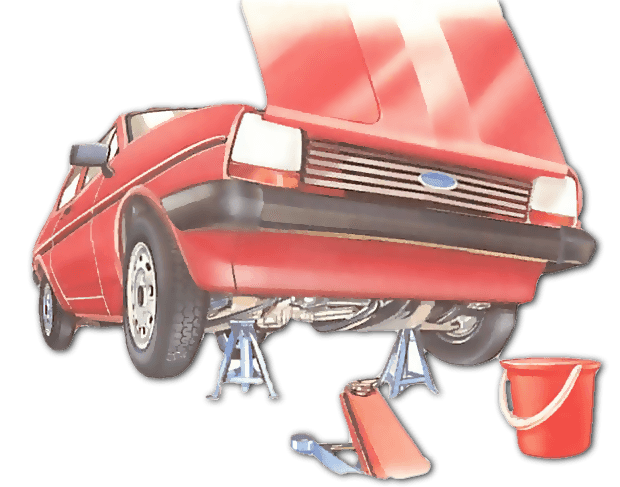
To empty the system, let the engine cool, take the cap off the expansion tank, put the heater control inside the car on 'hot', and open the drain tap or remove the bottom hose.
Open the bleed screws on the hoses and connections. They are usually thumbscrews and can be opened with the fingers. Those on the water pump or other metal fittings may need a small spanner to open them.
When refilling, raise the front of the car on axle stands to make the top of the radiator the highest point in the system.
Check all the hose clips for tightness and close all the drain plugs, except the bleed screw at the top of the heater hose. Make sure the heater control inside the car is set to 'hot'.
Pour the coolant mixture into the expansion tank until it reaches 1 in. (25 mm) above the top level line. Replace the cap.
Remove the radiator cap and fill the main system with coolant through the radiator opening until it will take no more and there is a trickle of coolant from the heater bleed screw. Close the screw.
Run the engine until it reaches its normal temperature, when the top hose becomes hot as the thermostat opens. If you have a bleed screw on the water pump , undo it a turn. Close it as soon as a steady, bubble-free stream of coolant comes out.
Take care — the coolant is hot and there are moving drive belts near by.
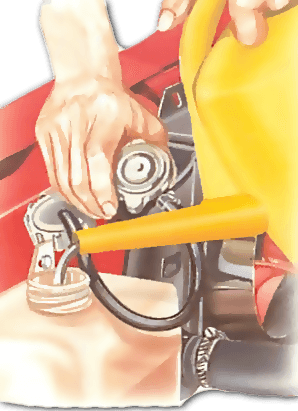
Top up the radiator. Open and close the bleed screws on the various hoses and connections in turn, ending with the heater-system screw.
Close each of them as soon as there is a good flow of air-free coolant. Lower the car.
After a few days, with the engine hot and running, set the heater to the 'hot' position and carefully open the heater-pipe bleed screw, or the one at the highest point in the system.
The Ultimate Car Mechanics video course
Learn everything about modern cars from our new video series.
Learn more >-
We build a Mazda MX5 Miata from scratch
We start by tearing down and then rebuilding the whole car.
-
Every part explained
There's ridiculous detail on every part. Clearly and easily explained.
-
All modeled in 3D
We've created the most detailed 3D model ever produced so we can show you everything working.


